 How do you start a blog? That is one of the most common questions I get once someone knows that I have a blog, and it happens to be one of the questions I receive via email the most. I haven’t written about “blogging” in a while, so I thought it would be a good time to answer this question publicly and start with the basics. How to Start A Blog:
Let me guess? You have always wanted to start a blog, but never thought you had the time. Totally wrong. I thought this a million times and talked myself out of starting my blog for over a year. Let me be the first to encourage you, take the plunge and start your very own blog TODAY!! There are only 4 easy steps, yep you read that right, ONLY FOUR.
- Name your blog
- Buy Hosting
- Install WordPress
- Install a theme or hire me for a custom design
Step One: Name Your Blog
If you don’t have a name in mind, now is the time to brainstorm. You will need to know the name of your blog moving forward, so that you can buy your domain name (URL). I ended up with simplyclarke.com, because I wanted my blog name to reflect our life. I knew I wanted our last name in the mix and then it just came to me “Simply Clarke”, because I love living a simple life filled with love, faith, family and friends.
Once you have landed on a name, it is time to go to bluehost.com and click on get started now!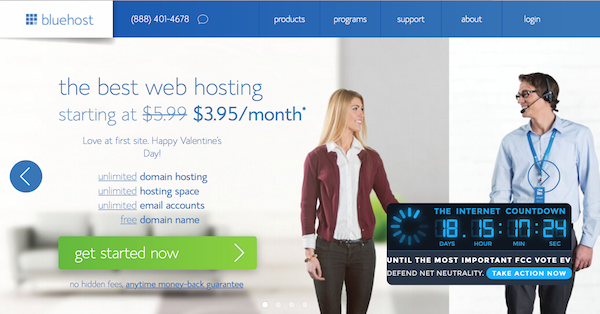
I recommend bluehost for hosting because it is very user friendly and they have outstanding customer service, not to mention good prices. The next screen will give you three account options, if you are just starting out, I would recommend the starter package.
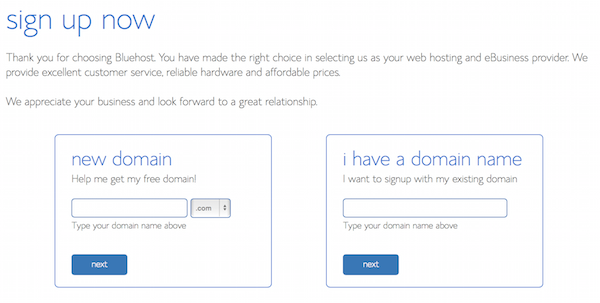
 After this, you will be prompted to enter your domain name we talked about earlier. Your domain name is free with your hosting account, however if you happen to already have one, enter it in the other option and bluehost will prompt you through how to use the one you already have.
Step Two: Buy Hosting
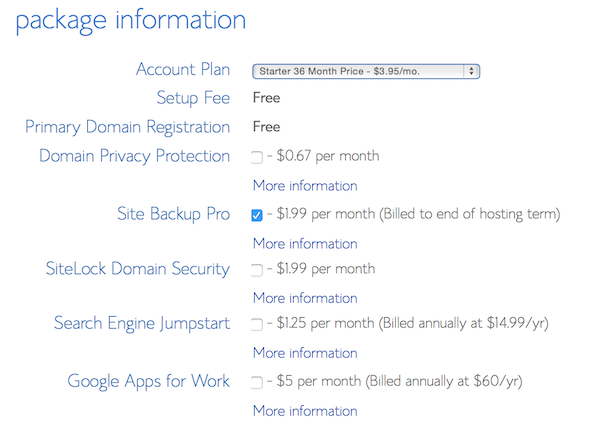
Next, it is time to actually purchase your hosting. Enter in your account information, and then it will start asking you about package information shown below. Keep in mind that Bluehost gives you a monthly breakdown of the cost, however, they will bill you for the entire amount up front. I recommend that you purchase “site backup pro”. With this option, Bluehost saves a backup of your site occasionally in the event that something goes wrong. If you make a mistake on your site, like a bad plugin or accidentally erase your blog (these things happen), all you have to do is call them and they will restore your site back to normal!
 After you select your package options, all you have to do is enter your billing information and click “next”.
Step Three: Install WordPress
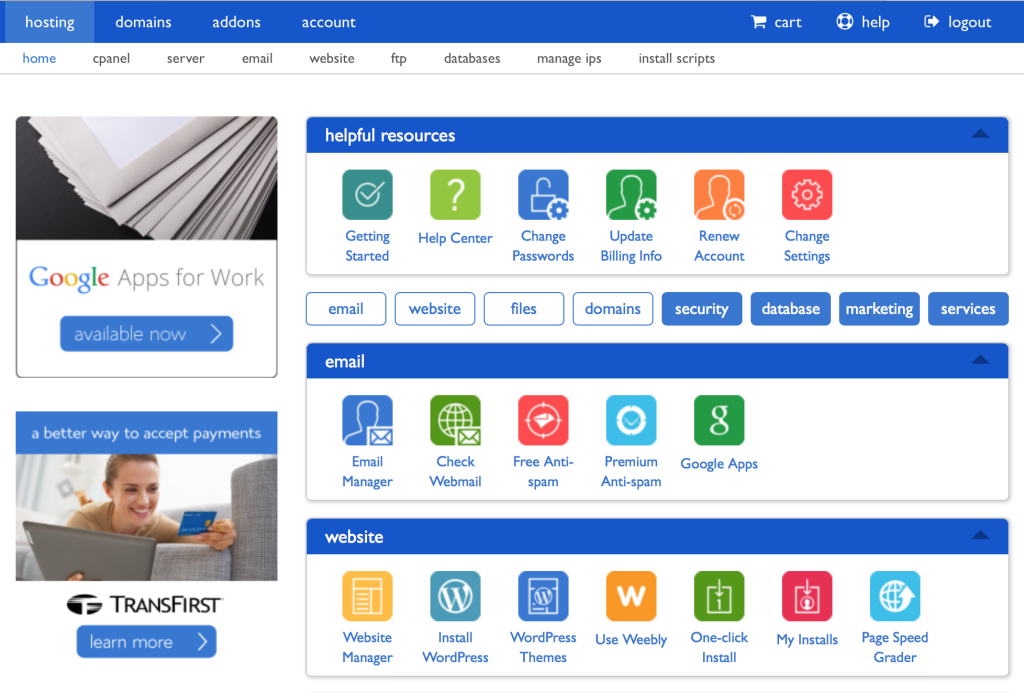
Once your transaction goes through, you will receive an email confirmation that contains your username and password. Next, you will use this to sign into your account cpanel or homepage. Locate the “Install WordPress” option under the website section and click it.
 You will then be taken to another screen where you select “install” again and then choose your domain in which you would like to install wordpress (it will give you an option for a temporary site or your actual site – choose your actual site). A status bar will then appear with your progress and then once your installation is complete, your site login credentials will appear. You will want to make sure you save all of this information for your knowledge because you will use it a lot & Congrats!! You have just successfully installed wordpress on your site!
Step Four: Install a theme or hire me for a custom design
Welcome to WordPress! Now that wordpress is installed, the next step is making your site pretty. Creative Market is my favorite place to find WordPress themes. All you have to do is click the link here to Creative Market and look through their themes. They have a ton of really great options!
Or, if you would prefer, you can hire me to create a custom wordpress design for your blog. I would love to work with you on a design to make your site perfect for you. If all of this sounds scary, no worries, I will walk you through each step or even install wordpress for you after you get through the first two steps. Good luck and welcome to the blogging world!
Check out this month’s featured sponsor:
truemaddeep
So helpful – thank you for this. 🙂
Kelly
I’m just getting started, so this is a great tutorial for me! Thank you!
Debbie Lima
Thanks for the tutorial! It’s helping me a lot! Your blog is awesome and full of great things for christian girls! I’m from Brazil and I have a blog too 🙂
http://www.polenporpolen.com
Lizzy Hill
Love this post! It’s what finally encouraged me to start my own blog. Thanks for the helpful advice and how to!
Sharon Lovering
what do you keep adding to your blog, when and how much do you add to the blog
Jessie Totura
Thanks for your help! I am just getting my blog up and running. How did you gain a following of interested readers?
Marquis Clarke
Jessie ToturaHere is how I started: http://simplyclarke.com/2013/06/networking-for-bloggers/