This post has been sponsored by Amopé. All thoughts and opinions are my own.
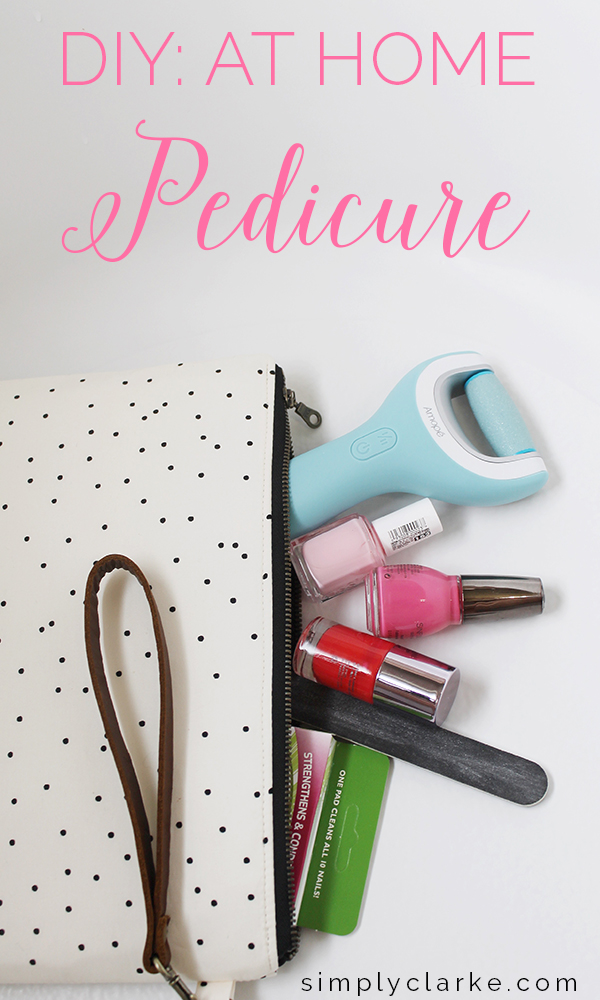
Spring is in full force and summer is almost upon us (if you live in Texas like me, you’re probably thinking summer is already here)! With summer, comes great outfit and sandal options which means you need to have your toes looking pretty because they will be out and about all the time. In the past, I have always started out the season with a good pedicure. However, now that I have Brooke, getting pedicures at a salon is much harder. It is just honestly time that I don’t have and it is super hard to take your one year old to a nail salon. Because of this, since she was born, I have been perfecting my at home pedicure and I have found that is a way better and cheaper option. Think, watching your own DVR or Netflix, while your baby is playing, and you have a load of laundry going. Great multitasking!
Here is the process I have been using for a fabulous DIY: At Home Pedicure –
PREP
Step 1: Remove your old nail polish. Recently, I found that they make these new nail polish remover pads and I have really come to like those over the remover plus cotton ball option.
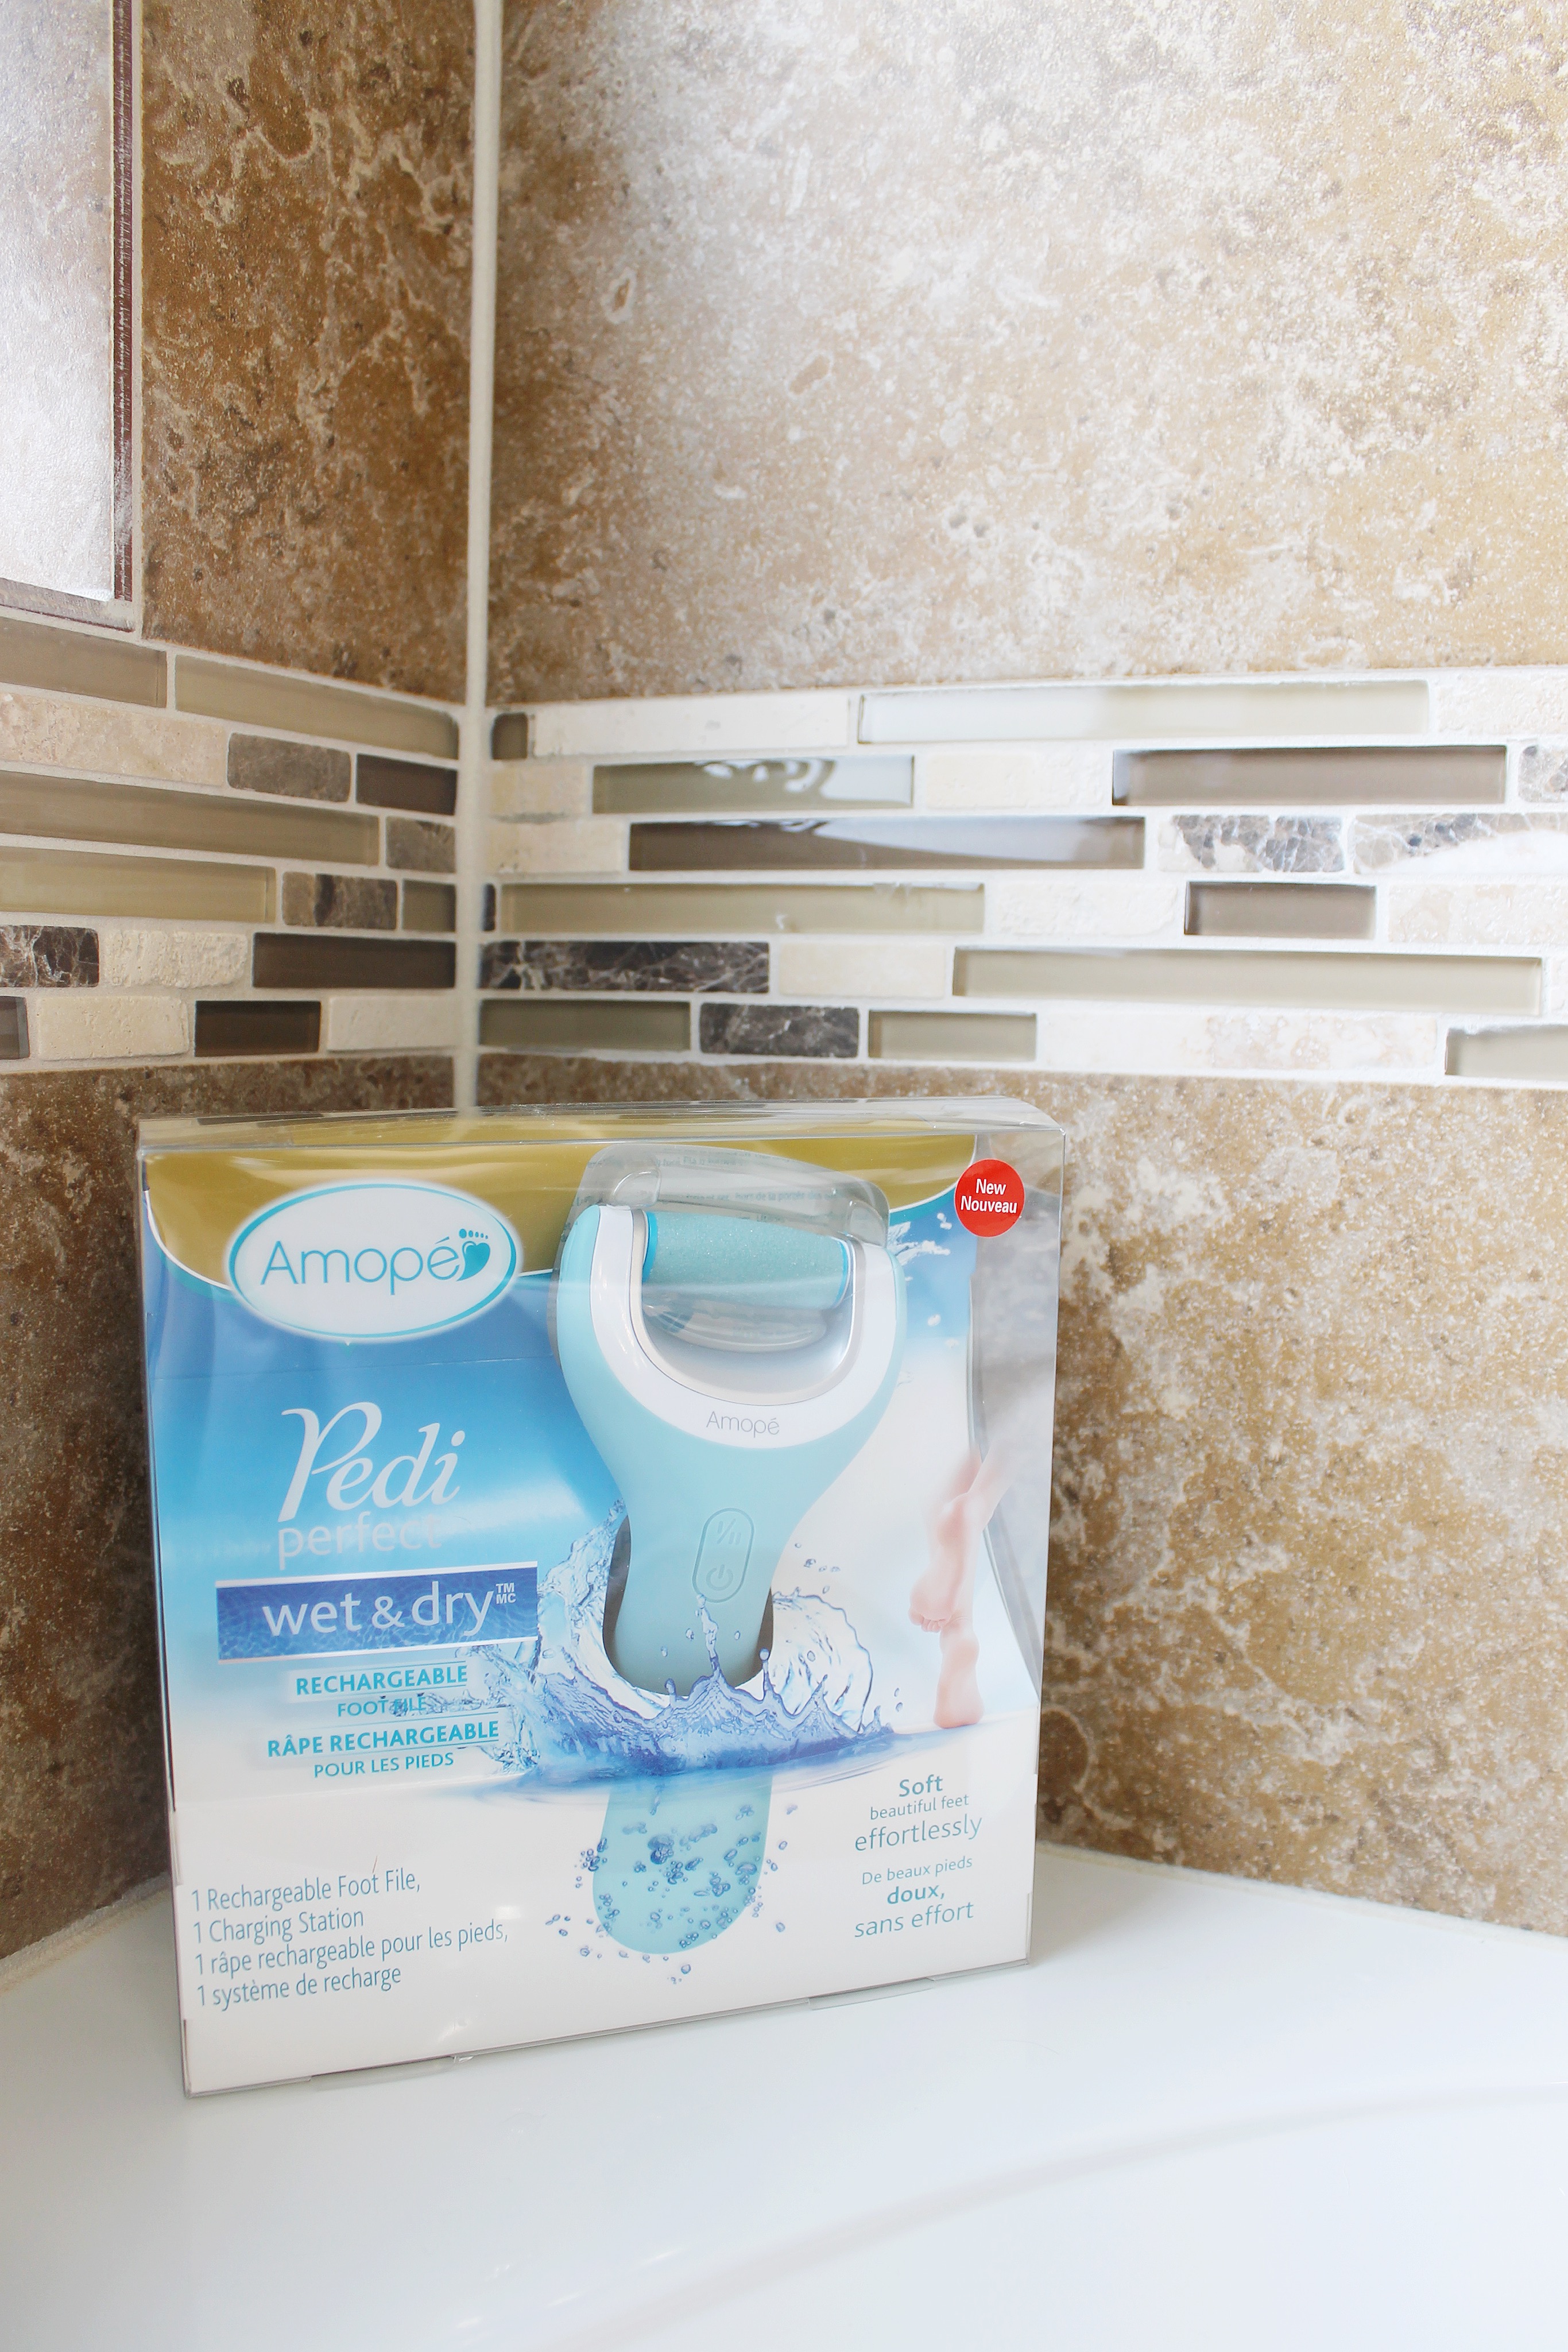
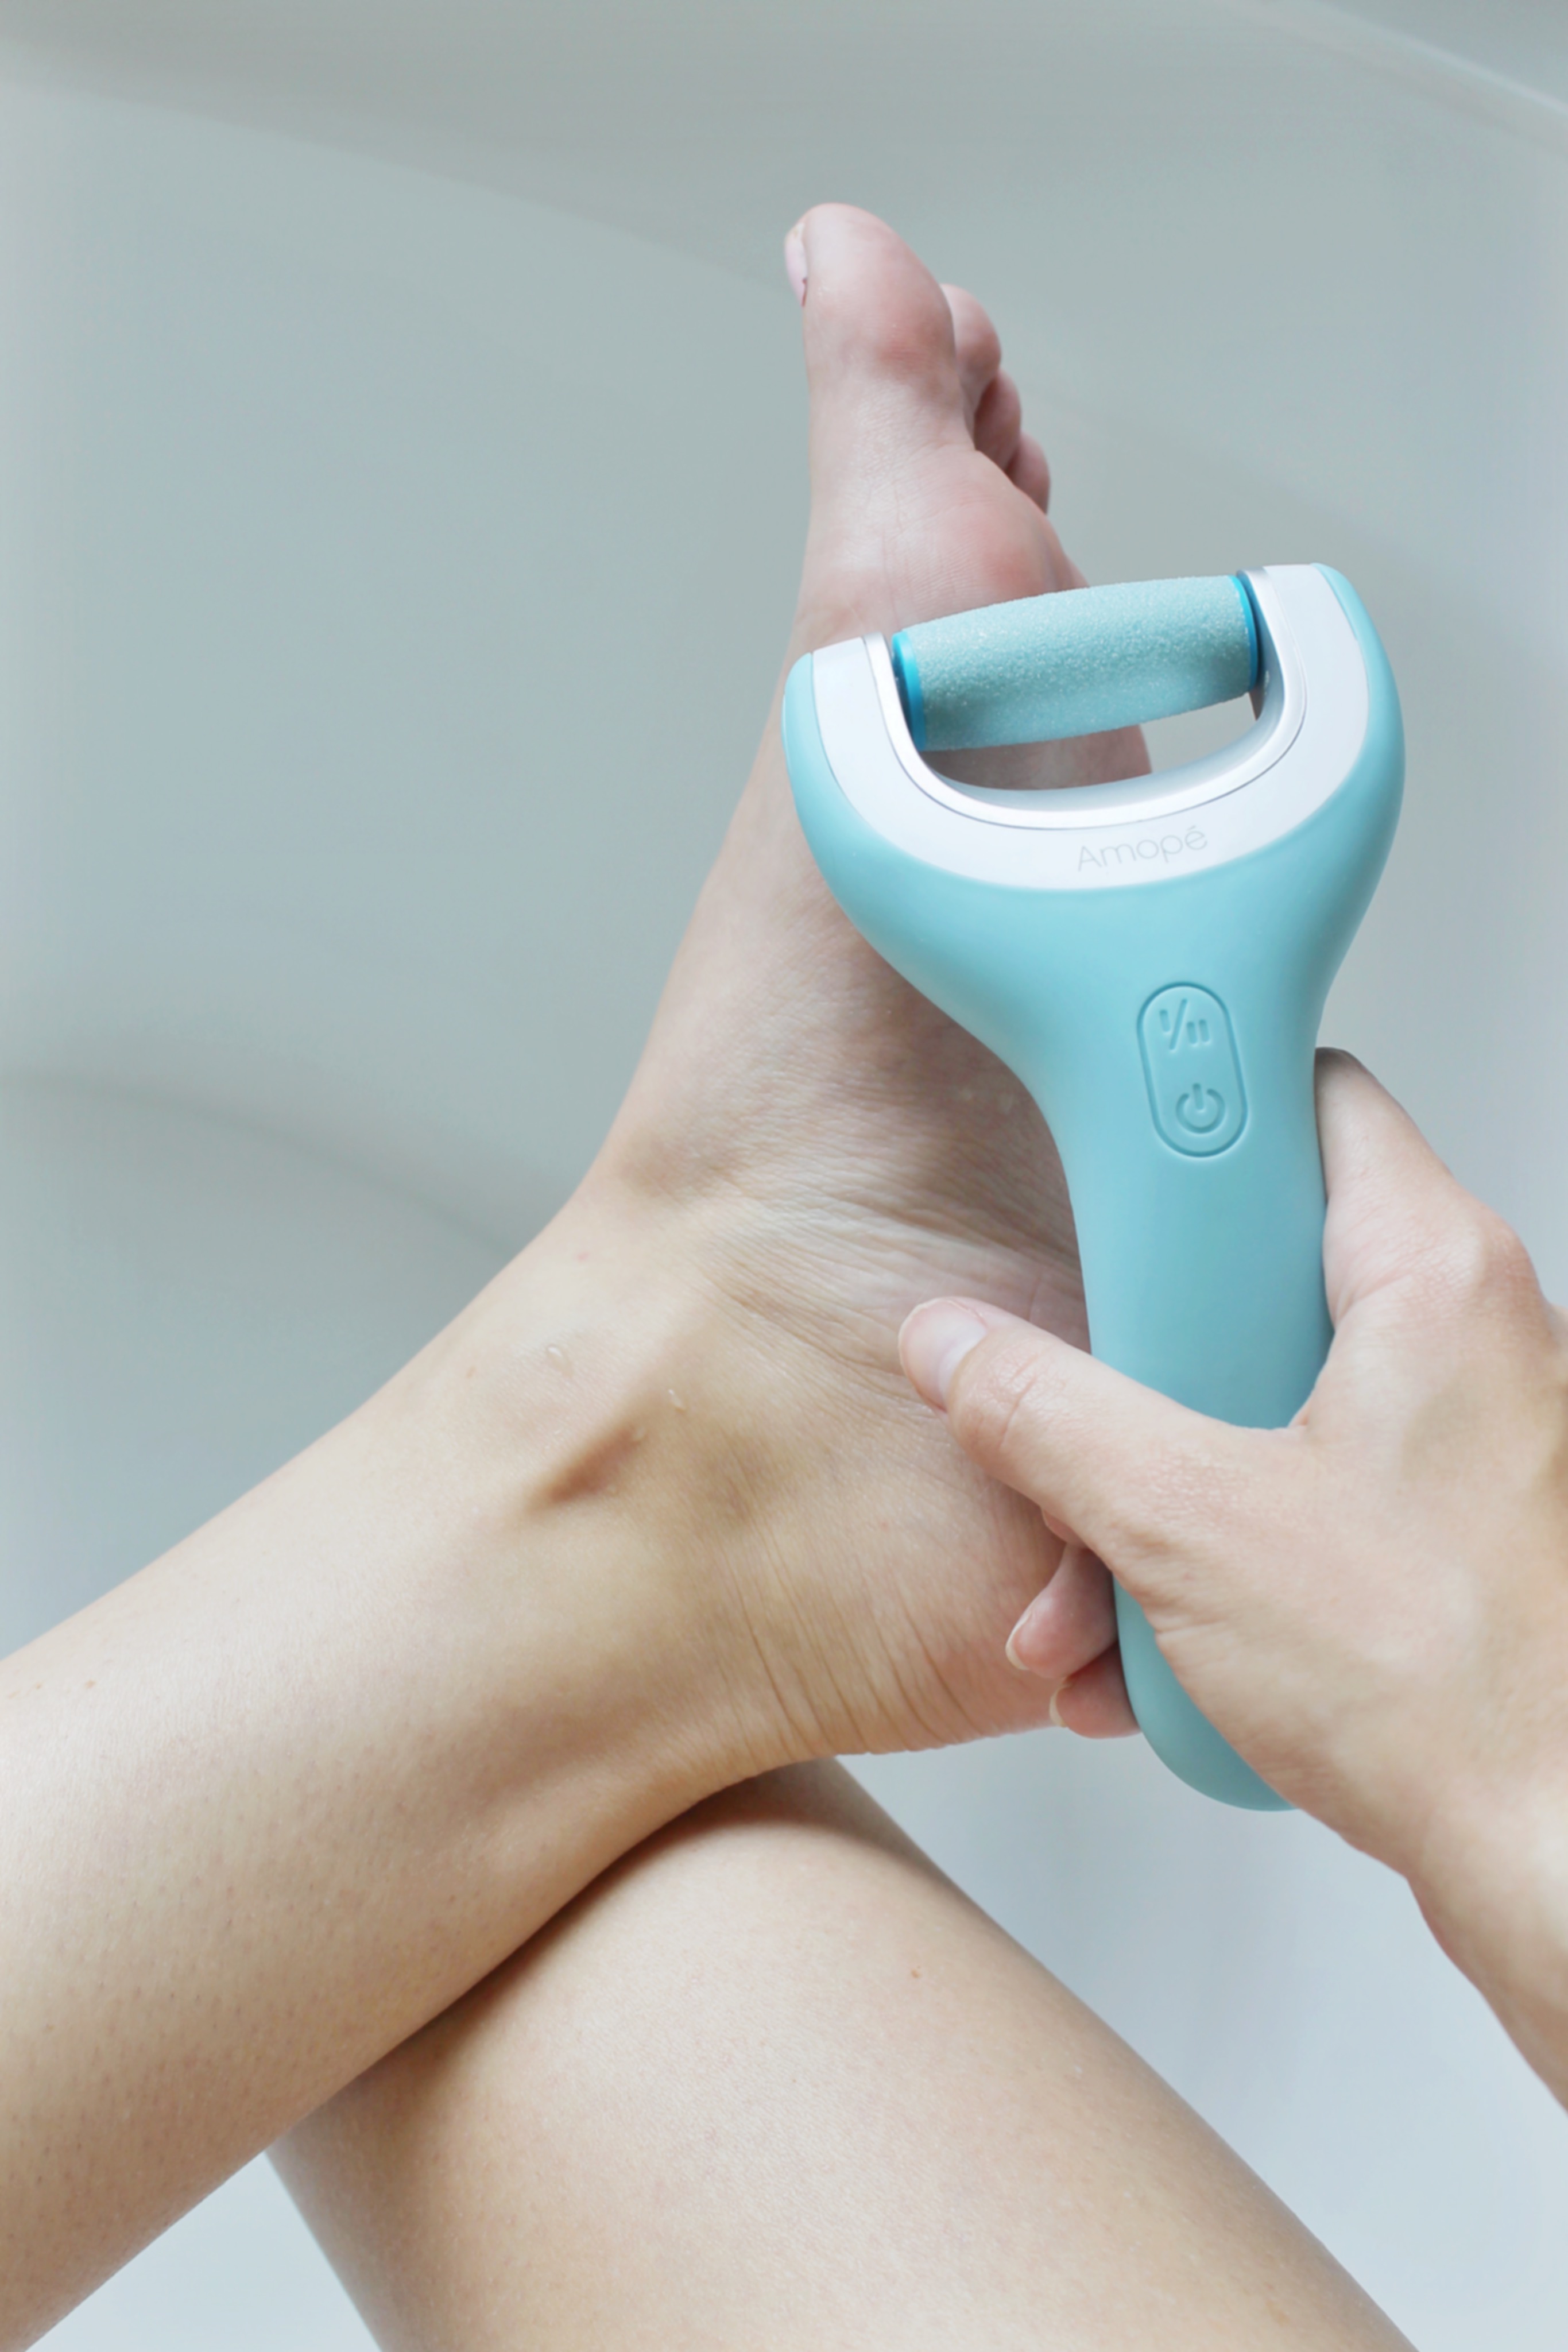
Step 2: The second thing I do to prep my feet is use the Amopé Pedi Perfect Wet & Dry™ Rechargeable Foot File. It is an amazing tool that really refreshes your feet by removing all of your dead skin. Lets face it, we are on our feet all of the time. We get a lot of wear and tear to them, so it is really important to take care of them. I like to use this when I give myself a pedicure, and once every other week in the shower just to keep my feet feeling super smooth. I have found that in summer, when I am wearing sandals more, I use it a lot more often as well. I cannot express enough how FANTASTIC this makes your feet feel. It is lightweight, safe and painless, you should grab one, ASAP. I got mine on the Target foot care aisle. From now until June 30th, you can get 5% off an Amopé Wet & Dry™ Rechargeable Pedicure Foot File with Cartwheel. Even if you prefer salon pedicures, this a great tool to have in your bathroom. You might even catch your husband stealing it too!
Step 3: Moisturize. Now that your polish is off and your feet are smooth, give them the refreshment they need of good moisture. They do this at the salon, so do it at home too! Grab your favorite lotion (Amopé Pedi Perfect Daily Foot Cream Moisturizer is a great option too) and rub it on your feet. If you’re lucky, maybe even get your spouse to give you a quick massage.
PAINT
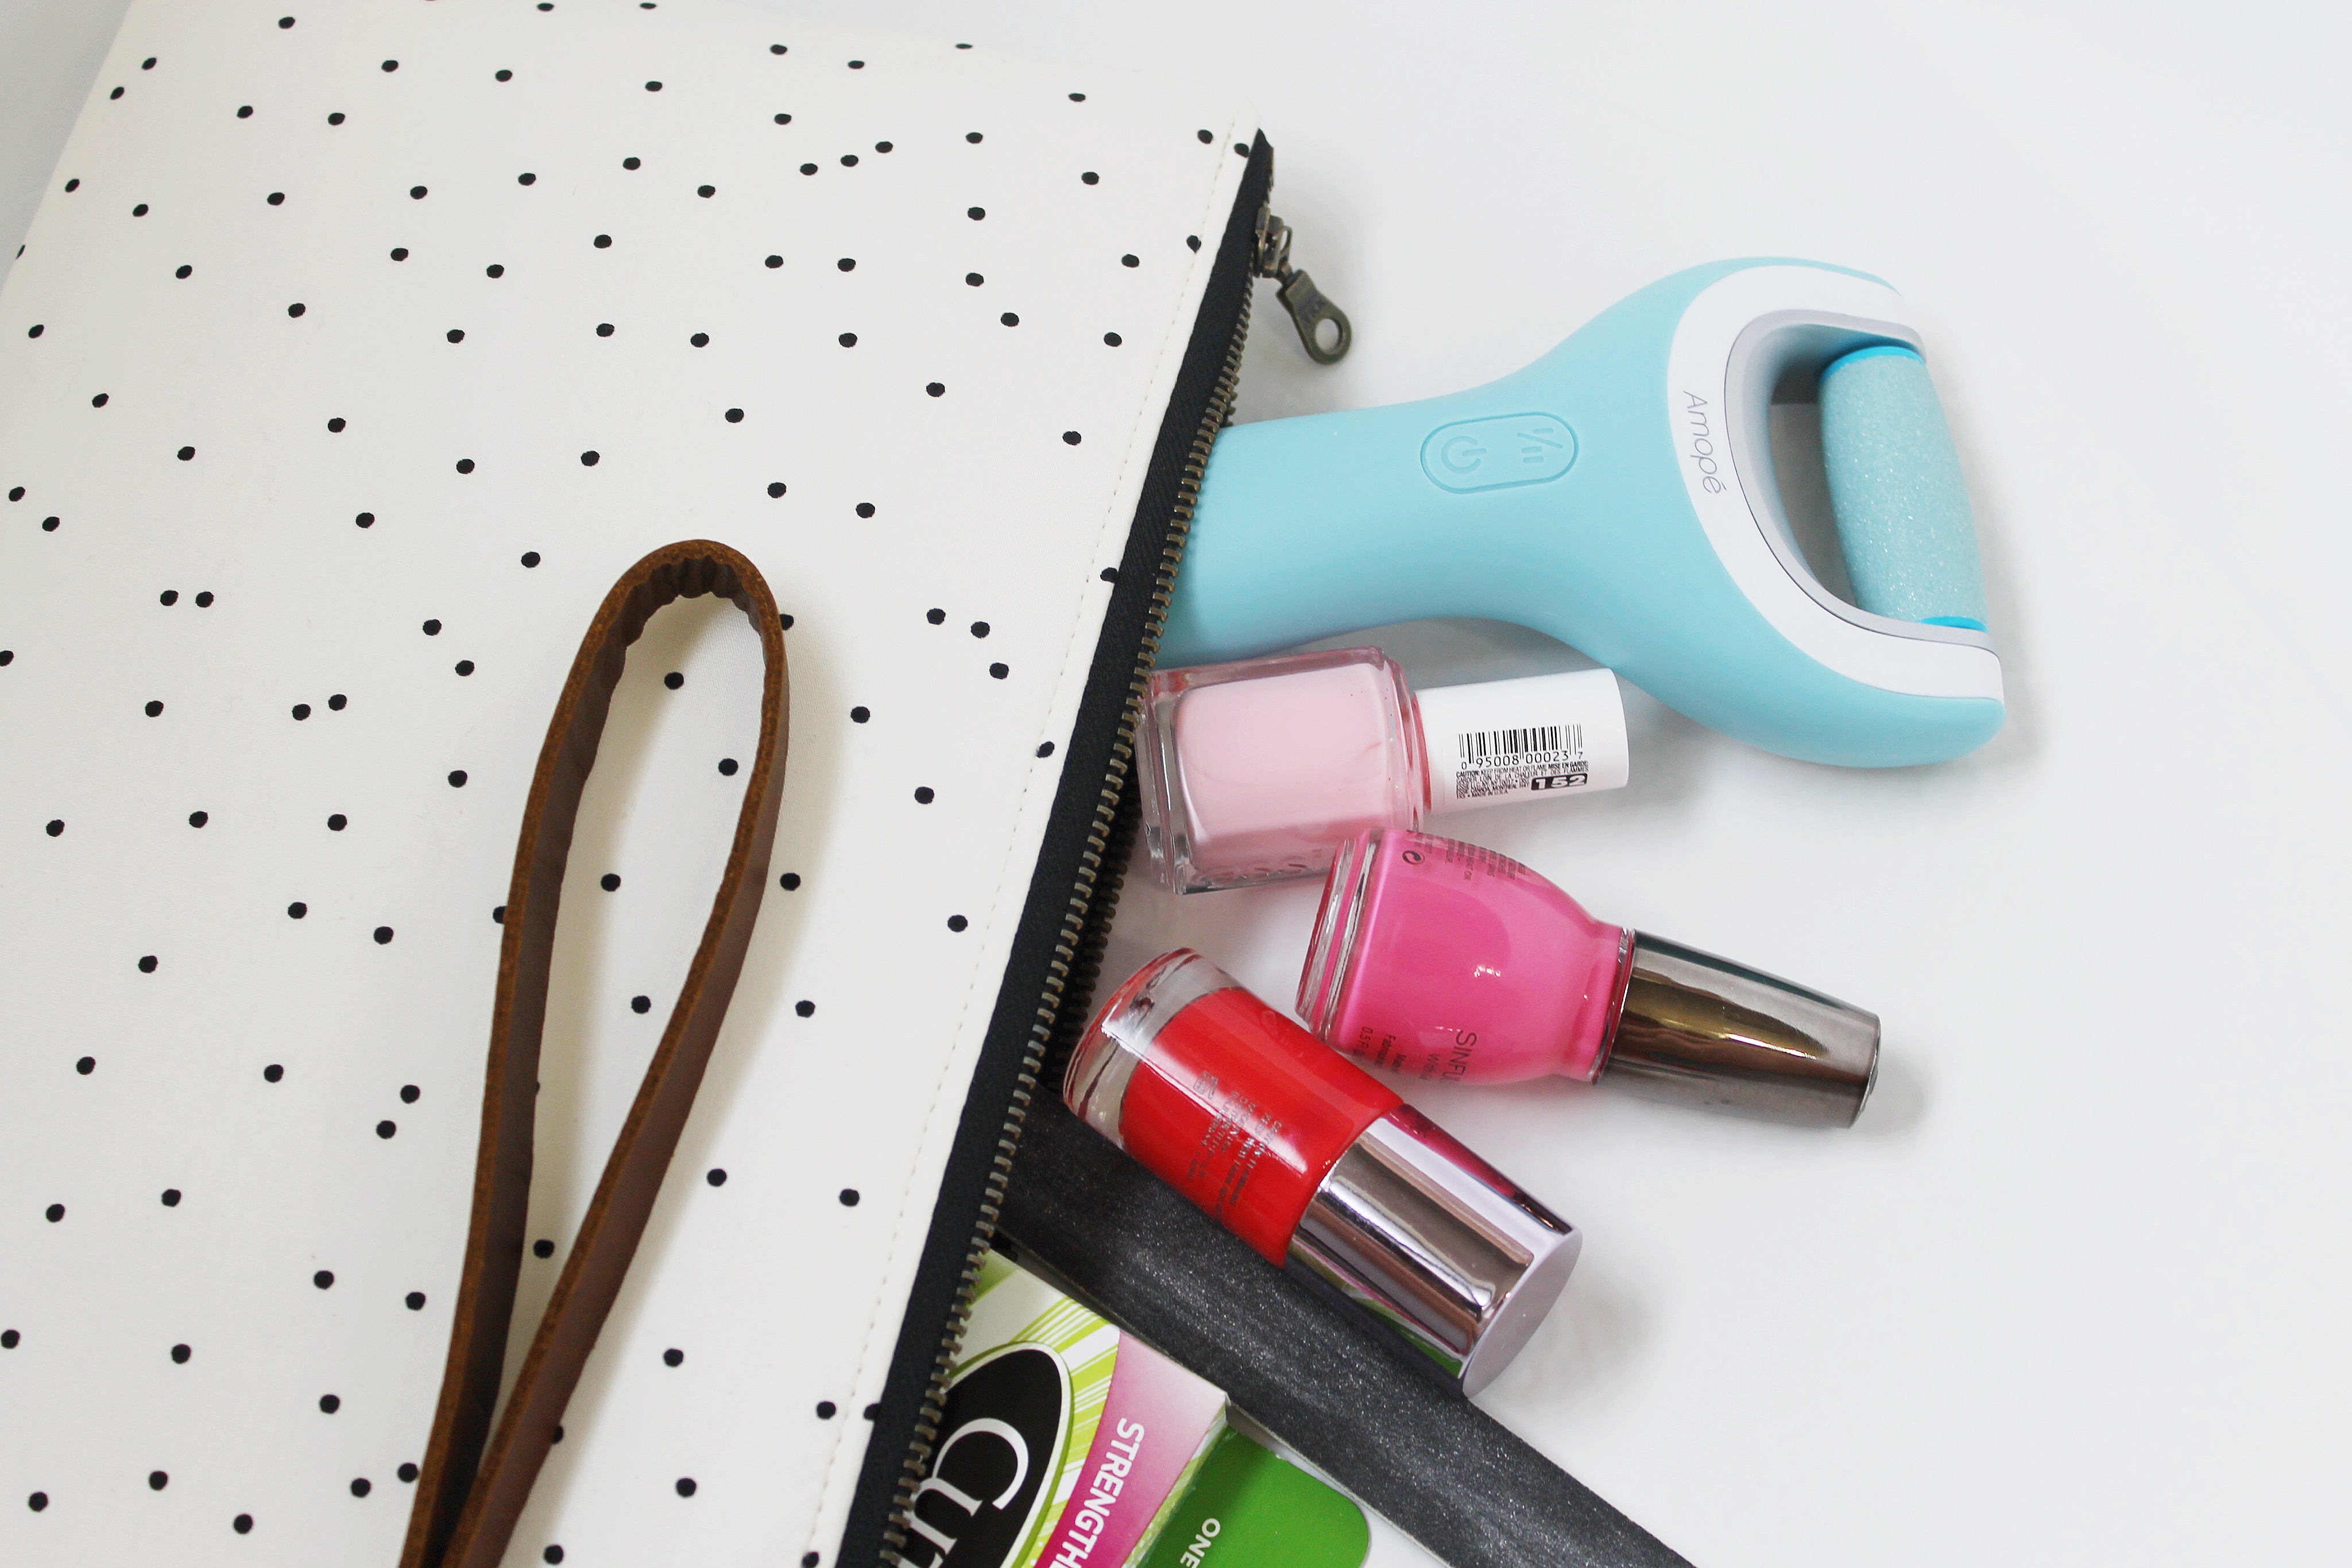
Step 4: Prime your nails. I like to use a clear base coat to prime my nails. I truly believes this helps keep your polish on longer and helps strengthen your nails.
Step 5: Paint. I love pinks and neutrals for summer. I am really into light pink and white polish right now and you can normally find my toe nails a shade of pink. I suggest doing two coats of paint. I have found that it really gives you the best color and an even look from the polish.
Step 6: Top Coat. I finish off my “painting” with a top coat. I like to choose a quick dry option, because I normally chasing after Brooke by this point. Top coats are important because they help your polish not to chip as quickly.
PERFECT
Step 7: Clean up any excess polish off your toes/feet with a q-tip and polish remover. I normally at least have to do this on a few of my toes.
Step 8: Enjoy beautiful summer ready feet!!
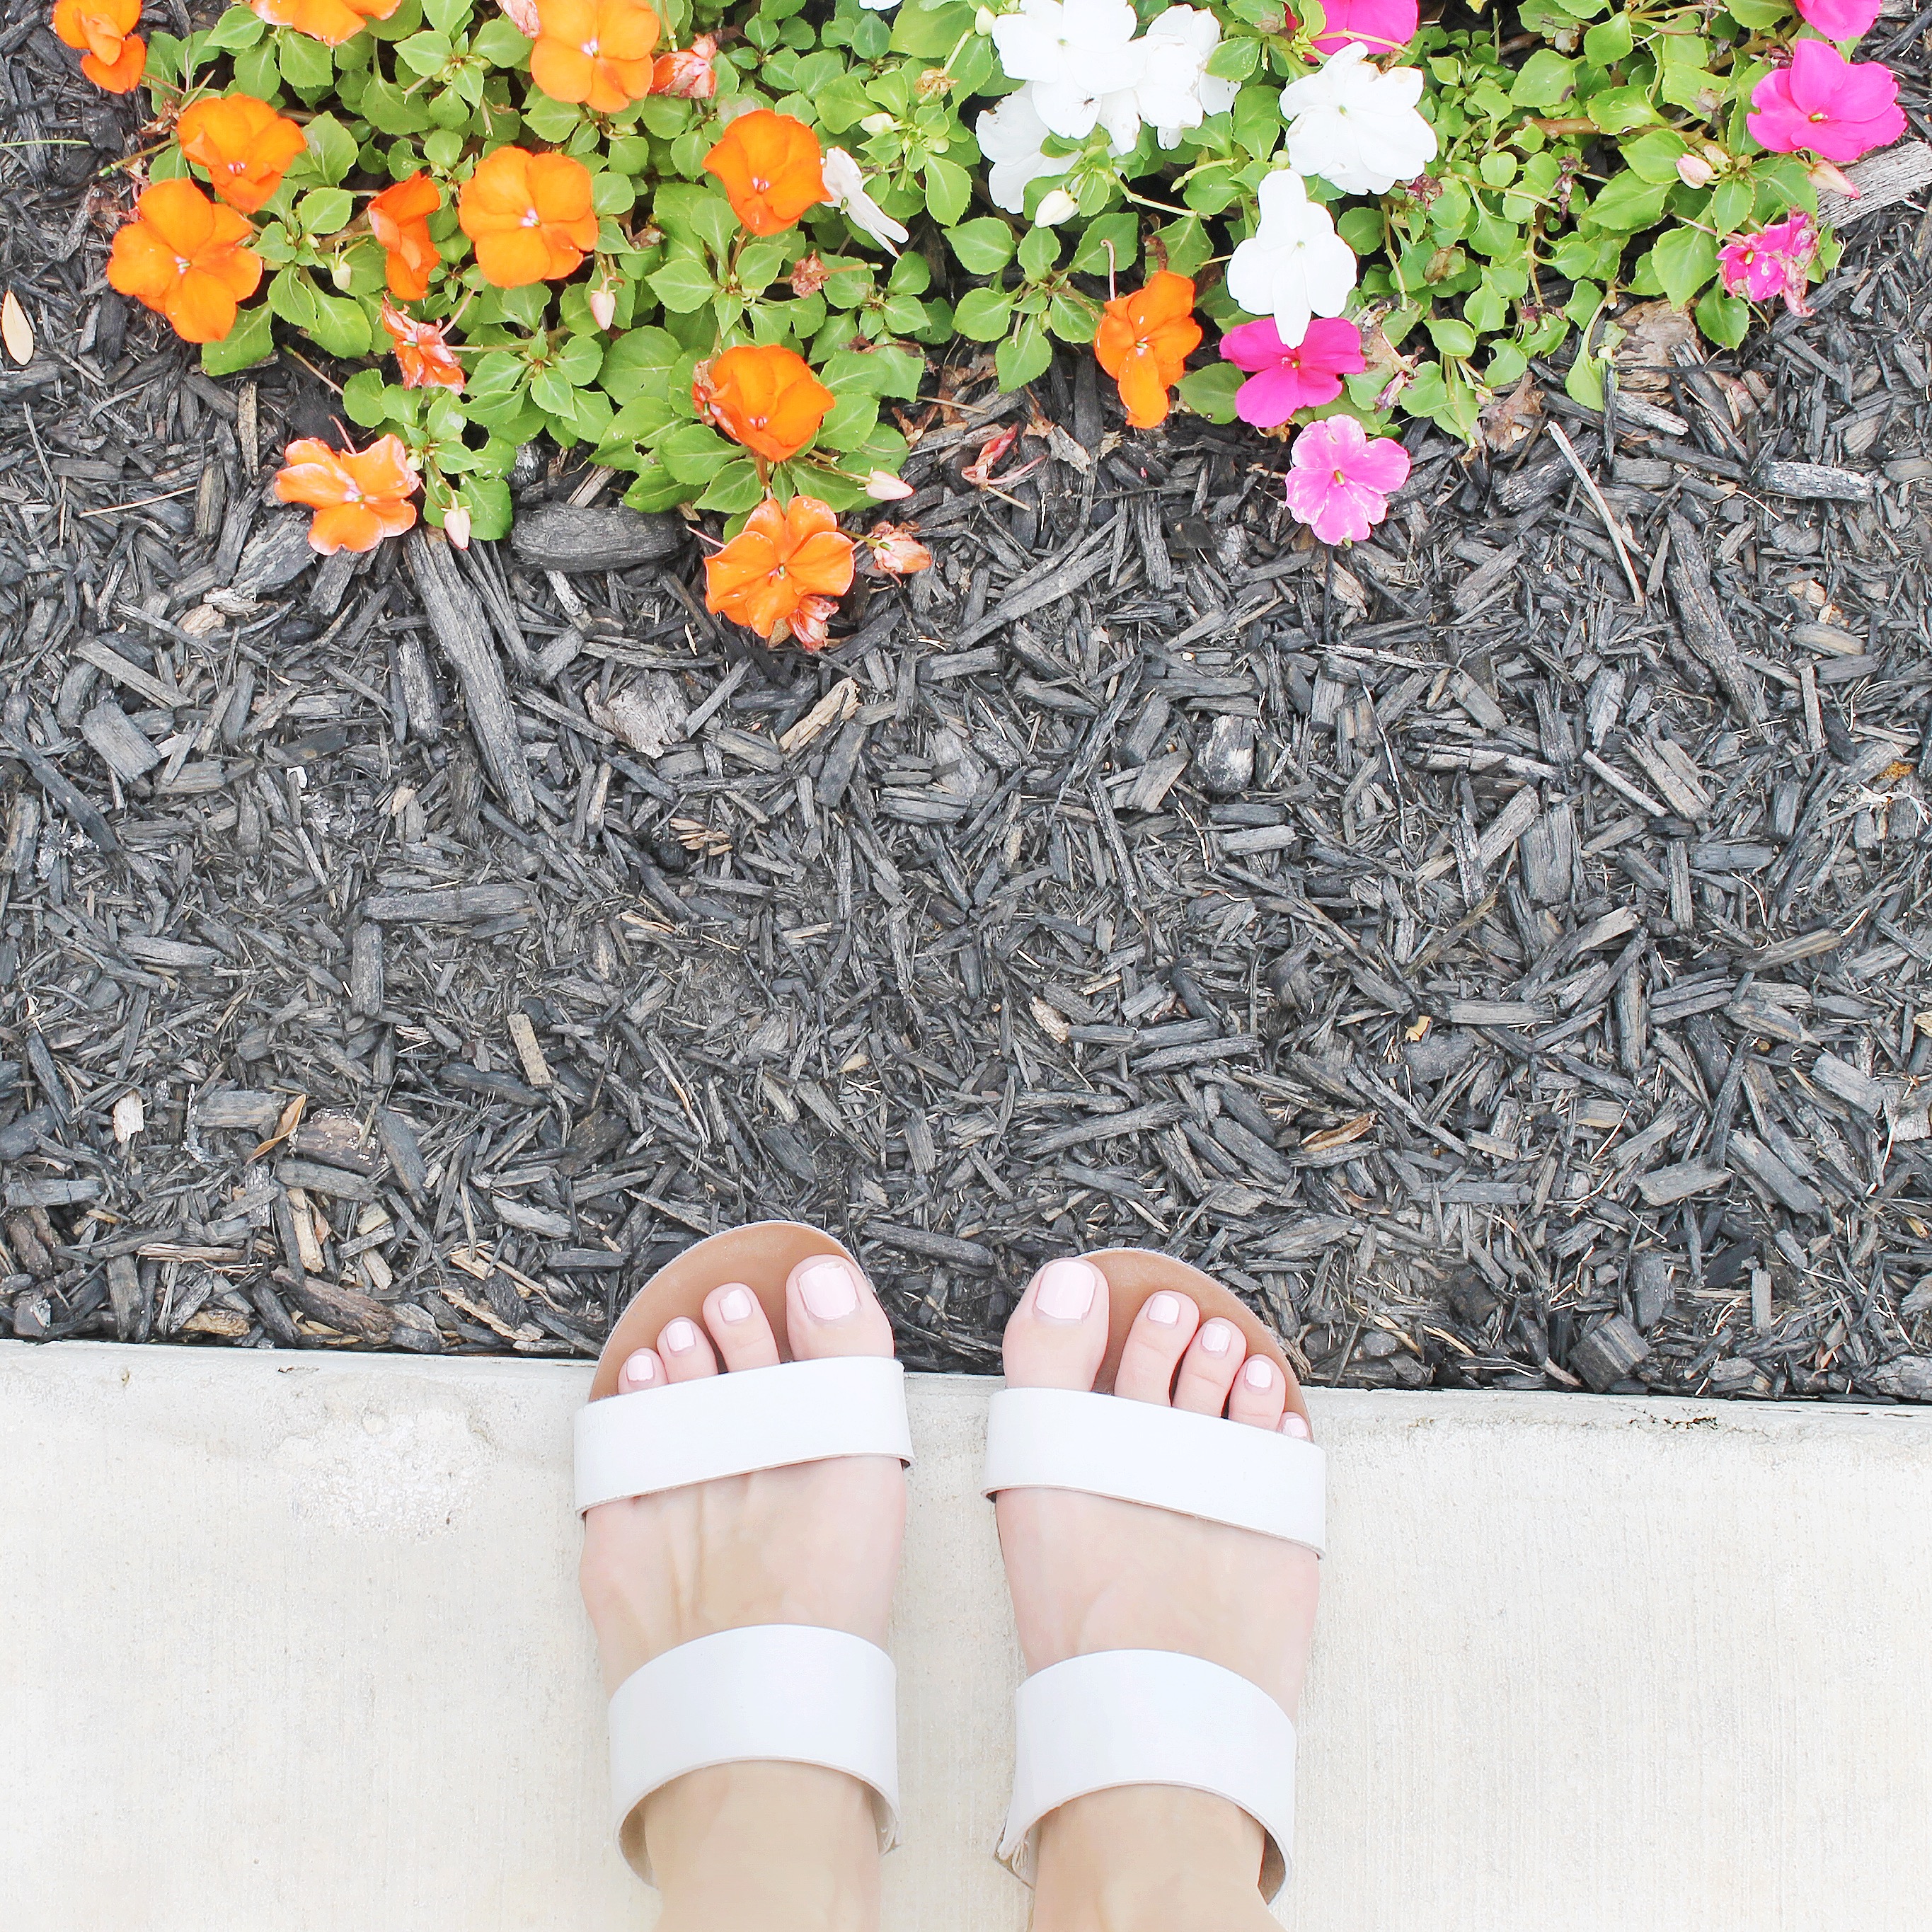
I hope that this DIY: At Home Pedicure process works for you. I highly recommend using the Amopé Wet & Dry foot file to keep your feet looking and feeling great throughout summer!
Ashlee • Sparkles by Ashlee
This is funny because just the other day I was telling my mom that I wanted a pedicure. These tips will definitely come in handy. Thank you!!